The Importance of Preparation
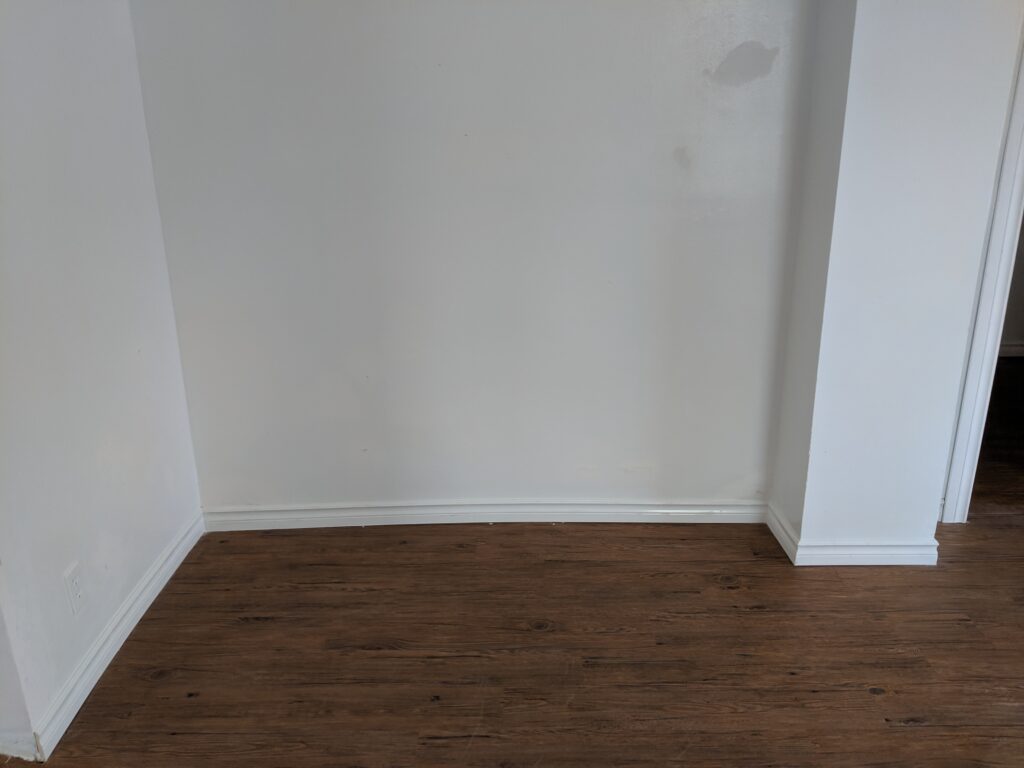
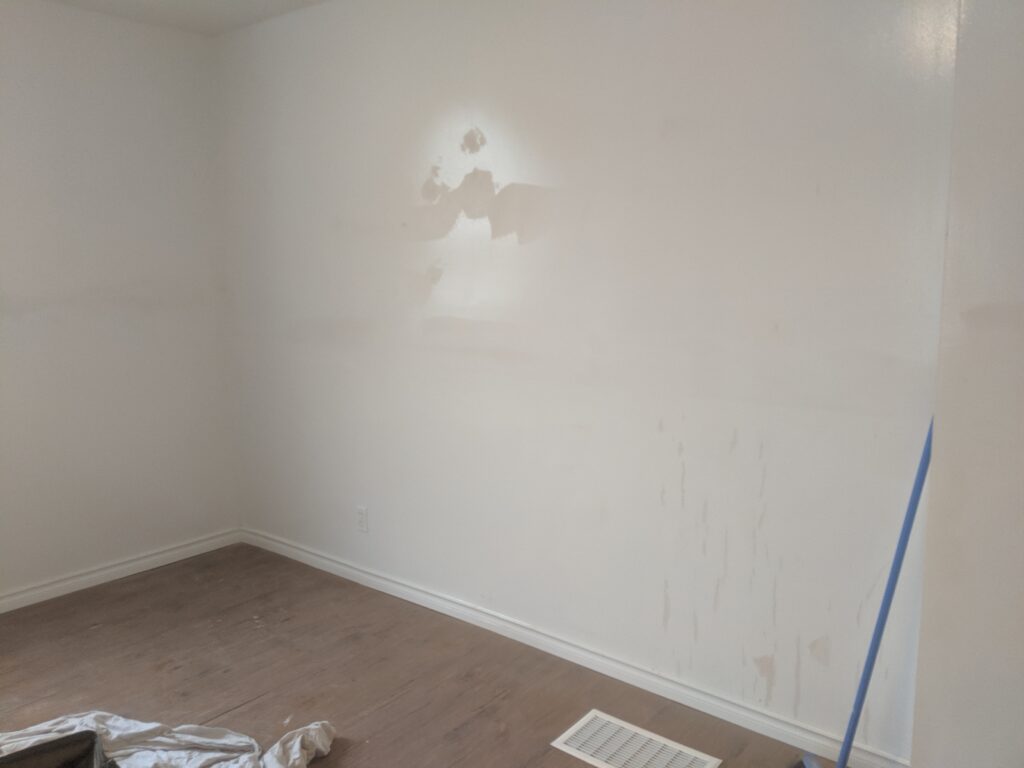
Preparation is the cornerstone of any successful painting project, significantly impacting the final results. Before applying paint, it is essential to thoroughly clean the surfaces to be painted. Dust, dirt, and grease can lead to poor adhesion, resulting in peeling or uneven finishes. Utilizing a mixture of water and mild detergent can effectively remove contaminants, ensuring the surfaces are primed for painting.
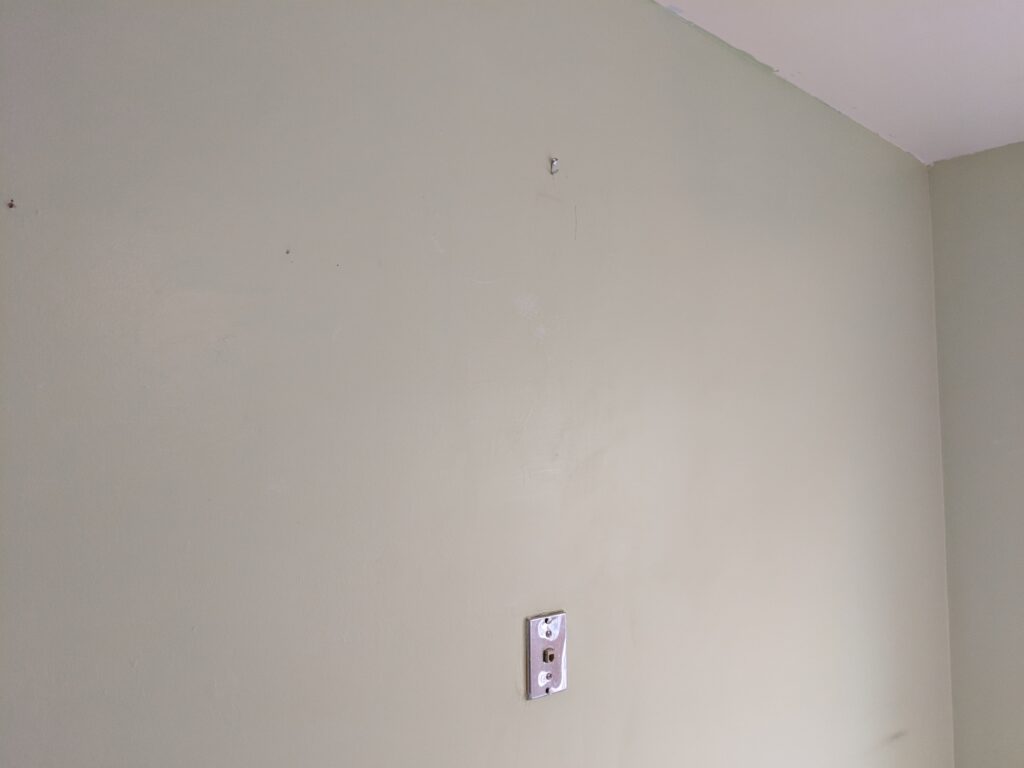
In addition to cleaning, repairing any imperfections is crucial. Filling in cracks and holes with appropriate patching compounds will provide a smooth base for the paint. Moreover, sanding rough areas can enhance the surface texture, helping the paint to adhere better. Choosing the right primer is also vital as it not only improves adhesion but also blocks stains and evens out the surface color. Primers specifically formulated for different materials, such as wood, drywall, or metal, ensure that the paint will adhere properly and achieve a uniform finish.
Gathering the necessary tools and materials ahead of time contributes to a more efficient painting process. Essential items include brushes, rollers, painter’s tape, drop cloths, and trays. Each tool serves a unique purpose and contributes to a polished final appearance. Proper ventilation is another significant factor during preparation. Paint fumes can be hazardous, so ensuring ample airflow by opening windows or using fans can create a safer work environment. In addition, protecting surrounding furniture and flooring is vital to prevent accidental spills and splatters. Using drop cloths or plastic sheets will help shield these areas, preserving their integrity throughout the painting process.
By adhering to these preparation steps, one can significantly improve the overall outcome of the painting project, achieving a more polished and professional finish.
Choosing the Right Paint and Supplies
When embarking on a home improvement painting project, the selection of the right paint and supplies is crucial to achieving a polished finish. There are two primary types of paint: water-based and oil-based. Water-based paints, such as acrylics, are known for their quick drying times and easy cleanup with soap and water, making them suitable for indoor projects. Conversely, oil-based paints, which are robust and ideal for high-traffic areas, require solvents for cleanup and take longer to dry. Each type has its advantages, and the choice largely depends on the intended application and desired outcome.
The finish of the paint is equally important. Finishes range from matte, satin to gloss, each offering distinct visual effects and durability. Matte finishes provide a soft, non-reflective look suitable for ceilings and low-traffic walls, while satin and gloss finishes enhance color vibrancy and are more durable, making them perfect for kitchens and bathrooms where moisture resistance is vital. Therefore, understanding the functional and aesthetic properties of each finish is essential when planning your project.
Beyond paint type and finish, the quality of brushes, rollers, and other tools considerably impacts the painting process. High-quality brushes and rollers are designed to hold paint better and distribute it evenly, resulting in a smoother application. Investing in reliable tools ensures a professional-looking result and minimizes the likelihood of visible brush strokes or roller marks.
When selecting colors, it is beneficial to consider current trends as well as personal preference. Choose hues that harmonize with the existing decor of the home to create a cohesive aesthetic. Always test paint samples on the wall before committing, as lighting can significantly alter how colors appear. Thoughtful selection of paint and supplies can elevate your home improvement project, leading to a satisfying transformation.
Techniques for a Flawless Finish
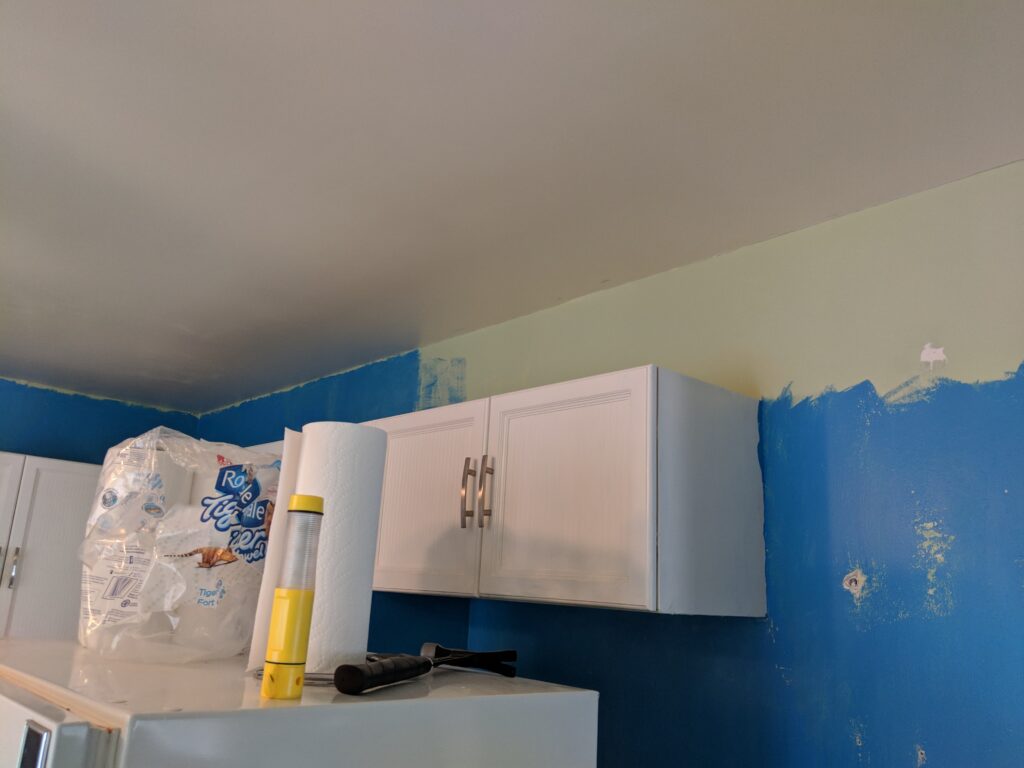
Achieving a flawless finish in home improvement painting requires a combination of effective techniques and attention to detail. One of the foundational practices is “cutting in,” which involves painting the edges of walls and corners before applying paint to the larger surfaces. This method ensures crisp lines and prevents overrun of paint onto adjacent areas. A high-quality angle brush can greatly facilitate this task, allowing for precision and control.
Following the cutting in process, rolling on the paint provides a consistent and smooth application over larger wall areas. Selecting the appropriate roller nap can significantly affect the texture of the finish; for smooth surfaces, a short-nap roller is recommended, while a long-nap roller is ideal for textured surfaces. When rolling, it is advisable to use a ‘W’ pattern to help distribute the paint evenly and avoid streaks. Utilizing a paint tray for even loading of the roller will enhance coverage and reduce drips.
Moreover, the significance of applying multiple coats of paint cannot be overstated. Single coats often lead to uneven coloration and reduced durability. Generally, two coats are recommended, particularly when transitioning between light and dark colors. Allowing adequate drying time between coats is vital for achieving the best results, as it prevents issues such as lifting or peeling.
Safety is another important consideration when undertaking a painting project. Using ladders safely is crucial; always ensure the ladder is stable on level ground and refrain from overreaching while painting. Additionally, proper ventilation while painting is necessary to avoid inhaling harmful fumes. By adhering to these techniques and safety practices, one can create a professional-looking finish that enhances the overall appearance of any space.
Common Mistakes to Avoid
When embarking on a home improvement painting project, it’s crucial to be aware of typical pitfalls that can hinder the outcome. One of the most frequent mistakes homeowners make is skipping essential preparation stages. Preparation is key in ensuring a smooth and durable finish. This includes cleaning surfaces, repairing any damages, and applying a suitable primer. Neglecting these steps can lead to poor paint adhesion and may result in the need for more frequent touch-ups down the line.
Another common oversight is improper tape application. Many individuals underestimate the importance of using painter’s tape correctly, which can lead to uneven edges and ruined lines. To avoid this, ensure the tape is applied firmly and securely against the surface, and consider using a putty knife to press down the edges, preventing paint bleed. Additionally, be sure to remove the tape while the paint is still wet to achieve crisp, clean lines.
Testing paint samples is another step that is often overlooked. Homeowners may hope to choose a color based on a small swatch or online photos; however, this can lead to dissatisfaction with the final look. It is advisable to purchase small samples and apply them to the walls in different lighting conditions before making a final decision. This allows you to see how the colors interact with your space and furnishings, ultimately helping you find the perfect shade.
Lastly, it’s essential to embrace patience and attention to detail throughout the painting process. Rushing can result in messy application and errors that require correction later on. Taking the time to prepare adequately, apply tape correctly, and test samples will significantly improve the overall quality of your painting project and reduce frustration.