Understanding Drywall Damage
Drywall is a common material used in modern construction, offering a seamless finish for interior walls and ceilings. However, it is susceptible to various forms of damage that can occur over time due to factors such as impact, moisture, and environmental changes. Homeowners often encounter different types of drywall damage, each requiring unique assessments and repair approaches.
One of the most prevalent issues is holes in the drywall, which can result from accidental impacts, such as a doorknob striking the wall or children playing indoors. The size of the hole typically dictates the repair method; small holes may be easily patched with joint compound, while larger holes may require a more comprehensive repair, including the installation of backing material.
Cracks also present a common form of damage, which can stem from settling, temperature fluctuations, or poor installation practices. These cracks may appear as hairline fissures or wider gaps. Assessing the severity of a crack is essential; minor cracks can often be filled and painted, while larger, more structural cracks may necessitate professional evaluation to determine if there are underlying issues affecting the home’s integrity.
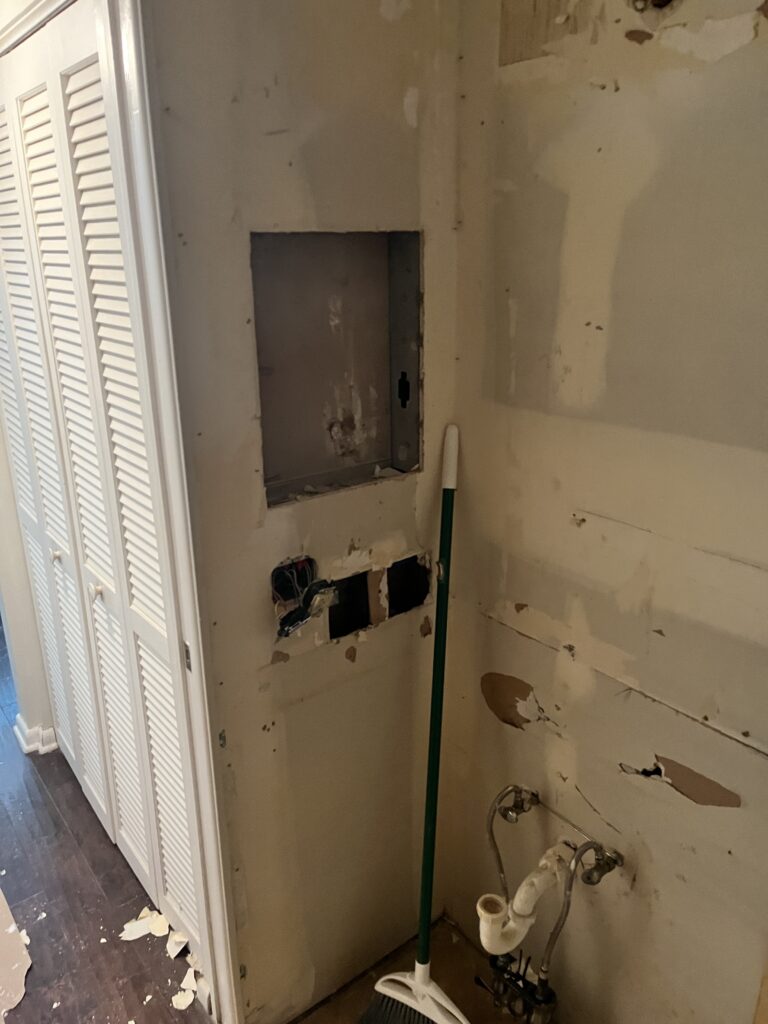
Water damage is another significant concern for drywall. It can stem from leaks, flooding, or high humidity levels. Discoloration, sagging, and a soft texture are often indicators of compromised drywall. When addressing water damage, it is crucial to identify the source of the moisture and rectify it before proceeding with repairs, as ignoring the issue may lead to mold development.
Lastly, dents caused by furniture or other impacts can detract from the appearance of drywall, making it essential for homeowners to regularly inspect their walls. Determining whether to undertake repairs personally or hire a professional often depends on the extent of the damage and the homeowner’s skill level. In general, minor issues can be easily addressed with the right tools and techniques, while more significant damages, especially those involving structural concerns or pervasive water damage, warrant the expertise of a qualified contractor.
Essential Tools and Materials for Drywall Repair
When embarking on drywall repair projects, having the right tools and materials is crucial for achieving professional results. The selection of quality products not only facilitates the repair process but also ensures durability and aesthetic appeal. Below is a comprehensive list of essential items that every homeowner should consider for effective drywall repair.
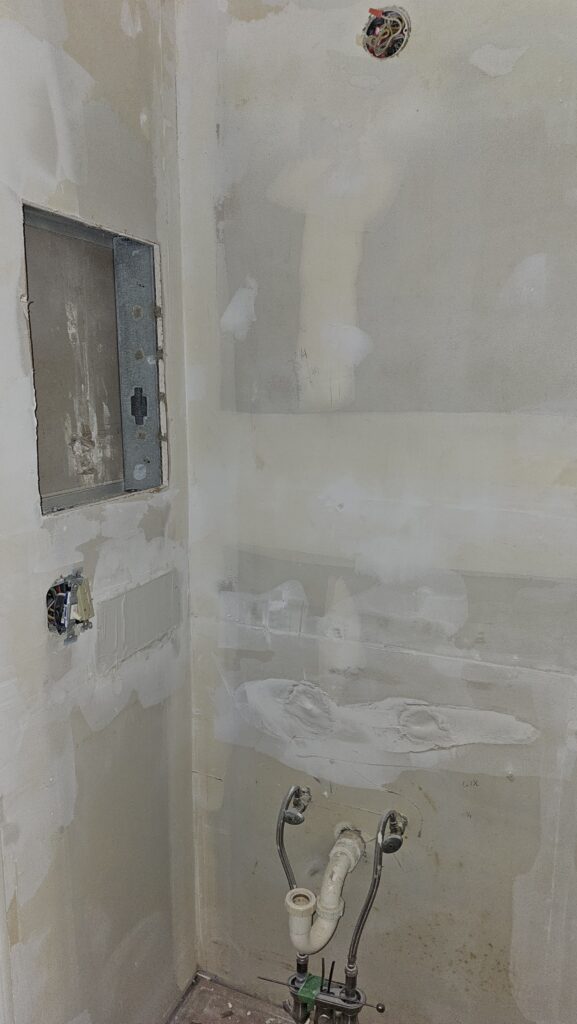
Starting with the basics, a utility knife is indispensable for cutting drywall sheets and creating smooth edges. Coupled with this, a drywall saw provides added versatility, especially for making intricate cuts around electrical outlets and fixtures. Additionally, a taping knife or a putty knife is necessary for applying joint compound with precision. The sizes of these knives can vary, but a broader blade is recommended for larger areas while a smaller one is useful for detailed work.
Sandpaper and sanding blocks are also vital components in the drywall repair toolkit. These items help in smoothing out the surface after applying joint compound, ensuring an even finish before painting. It is advisable to use fine-grit sandpaper to achieve a delicate touch without damaging the drywall. Furthermore, drywall tape—either paper or fiberglass—is essential for reinforcing seams and joints, preventing cracks from reappearing.
Joint compound, often referred to as mud, is crucial for filling in holes, seams, and imperfections. For more significant repairs, ready-mixed patching compounds are available and often provide superior results. A patching kit can also be an efficient solution for smaller repairs, as they contain all the necessary components in one package.
Finally, safety gear should not be overlooked. Protective eyewear, dust masks, and gloves safeguard against dust and debris produced during the repair process. With these essential tools and materials at your disposal, you can embark on drywall repair tasks confidently, ensuring a successful outcome.
Preparing the Work Area
Before embarking on any drywall repair task, it is paramount to prepare the work area meticulously. Proper preparation not only protects your home but also facilitates a smoother and more efficient repair process. Start by removing or relocating furniture and other items from the vicinity of the repair zone. If it is impractical to move large furniture pieces, cover them with plastic sheets or drop cloths to shield against dust, debris, and potential damage. This preventive measure helps maintain the integrity of your belongings during the repair.
Next, ensure that the floor is adequately protected. Utilizing drop cloths or old newspapers can safeguard your flooring from both dust and accidental spills. This step is essential, particularly if you are sanding or applying joint compound, as these actions can create a mess that is challenging to clean up afterward. In spaces where paint may be applied, it is wise to use painter’s tape along edges to achieve clean lines and prevent drips.
In addition to protecting your immediate surroundings, ensure that the work area is well-ventilated. Drywall materials often contain substances that can be irritating to the respiratory system; thus, it is beneficial to open windows or use fans to promote air circulation. This not only provides comfort but also ensures adherence to safety standards. Furthermore, it is prudent to wear protective gear, such as a dust mask, goggles, and gloves to minimize exposure to dust and chemicals, which can pose health risks during the repair process.
By dedicating time to prepare the work area thoroughly, you enhance the effectiveness of your repair efforts and contribute to a safer, cleaner environment in your home. Adopting a systematic approach will ultimately yield better results in your drywall repair project.
Step-by-Step Guide to Repairing Small Holes and Cracks
Repairing small holes and cracks in drywall can seem daunting, but with the right tools and a methodical approach, it can be accomplished effectively and efficiently. Begin by gathering your materials: a utility knife, joint compound, a putty knife, sandpaper (medium and fine grit), and paint that matches your wall color. If necessary, have a primer on hand for optimal finish.
Start by cleaning the area around the hole or crack. Use a utility knife to remove any loose or damaged drywall paper, which ensures proper adhesion of the joint compound. It is crucial to create a clean, stable surface for the repair. After preparing the area, you should wipe off any dust or debris to facilitate a smooth application later on.
Next, apply joint compound to the hole or crack using a putty knife. For small holes, a thin layer will suffice; however, larger cracks may require filling in gradually. Spread the compound evenly over the area, feathering the edges to blend seamlessly with the surrounding wall. Allow the joint compound to dry according to the manufacturer’s instructions, typically around 24 hours.
Once dry, take medium-grit sandpaper and gently sand the area to level it with the surrounding surface. Be careful to maintain the contour of the wall. After sanding, switch to fine-grit sandpaper for a smooth finish. Wipe the area with a damp cloth to remove any dust created during sanding.
Finally, you can paint over the repaired area. If you are using a primer, apply it before painting to achieve a consistent look. Choose a paint that matches your existing wall color to ensure the repair blends in seamlessly. With these steps, the repaired area should become virtually indistinguishable from the rest of your wall, demonstrating the effectiveness of proper drywall repair techniques.
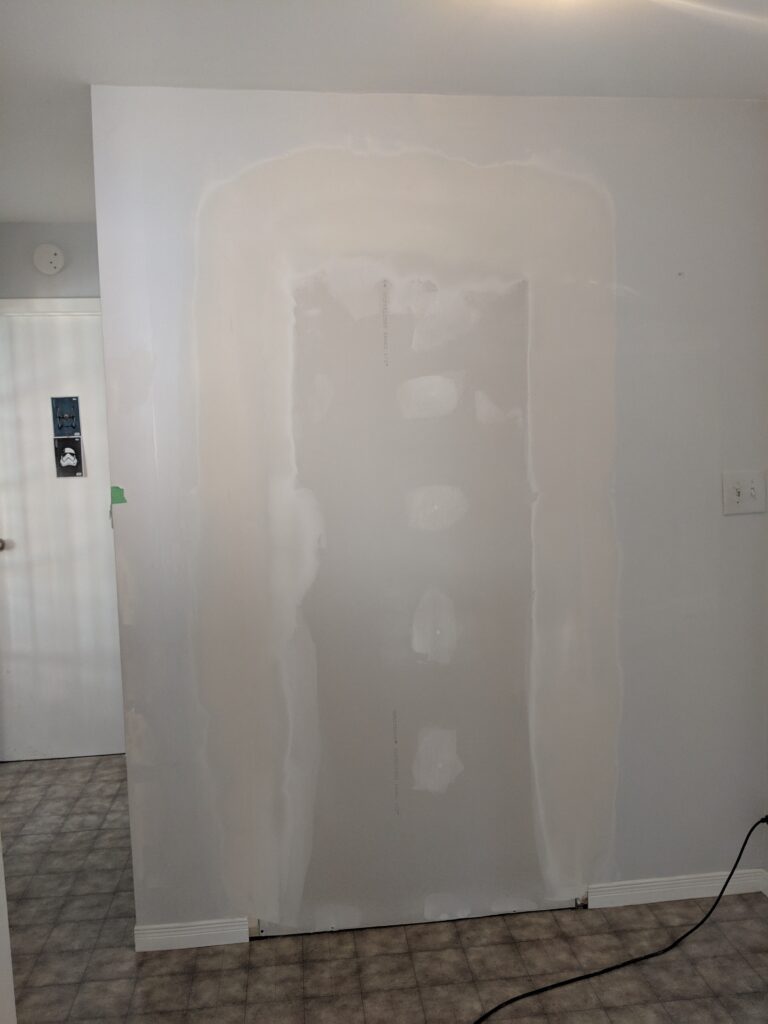
How to Patch Larger Holes in Drywall
Patching larger holes in drywall requires a systematic approach to ensure a seamless finish. This process typically involves using a backing board or a premade drywall patch, depending on the size of the hole. Start by assessing the damage; if the hole is larger than a few inches, a reinforced patch will be necessary.
Begin by measuring the hole. Use a tape measure to determine its width and height. Cut a piece of drywall that is slightly larger than the hole itself, typically ensuring it extends at least an inch beyond the damaged area on all sides. Create a clean edge around the hole using a utility knife or drywall saw, eliminating any loose or crumbling material. This step is critical for a secure fit and facilitates a smooth application.
Next, install a backing board to provide support inside the wall. For this, a piece of wood, such as a 1×3 or 1×4, can be inserted into the void through the hole. Use screws to fasten the drywall edges to the backing board, ensuring it is secure. Position the drywall patch over the hole, aligning it appropriately. After securing the patch in place with drywall screws, ensure that the screw heads are slightly recessed below the surface of the drywall.
Once the patch is secured, the next step is finishing. Apply a joint compound over the seams, feathering it outwards with a drywall knife. Allow the compound to dry thoroughly, typically for 24 hours, before sanding it down to a smooth finish. Repeat the application of joint compound and sanding as necessary to achieve a perfect blend with the surrounding wall. When completed, the surface should be uniform, ready for priming and painting.
Troubleshooting Common Drywall Repair Issues
When undertaking drywall repairs, homeowners may encounter several common issues that can hinder the quality of their work. One frequent problem is bubbling in the joint compound, often caused by excess moisture or applying the compound too thickly. To remedy this, it is important to allow for adequate drying time between coats, and if bubbling occurs, the affected area should be sanded down and repaired with a thinner, more even layer of joint compound.
Cracking in the drywall is another issue that can develop, typically resulting from improper techniques, structural movement, or insufficient drying time. To address this, it is crucial to examine the cause of the crack; if it is due to building settlement, it may require a more thorough inspection. For minor cracks, applying a light coat of joint compound can often suffice, followed by appropriately sanding the area once dry.
Additionally, improper adhesion of the joint compound is a common nuisance experienced during drywall repairs. This can lead to peeling or flaking of the compound, which undermines the integrity of the repair. To enhance adhesion, ensure that the surface is clean, dry, and free from dust before applying the joint compound. Using a primer on the drywall prior to applying finish coats can also help the compound adhere more effectively.
Lastly, inconsistent texture between repairs and the surrounding wall can be a source of frustration. A straightforward approach is to match the texture of the surrounding drywall using a sponge or brush after applying the compound. With attention to these common challenges and their solutions, homeowners can enhance the results of their drywall repair projects, achieving a durable finish that complements the overall aesthetics of their living space.
The Importance of Proper Finishing Techniques
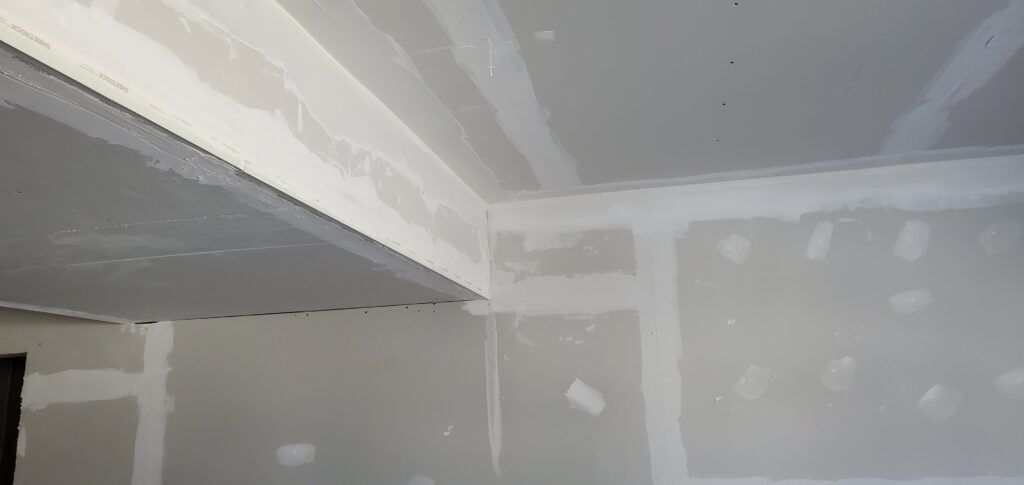
Finishing techniques play a pivotal role in ensuring that drywall repairs are not only functional but also aesthetically pleasing. After addressing any issues such as dents, scratches, or holes in the drywall, attention must be directed towards the finishing process, which includes sanding, priming, and painting. This stage is crucial for achieving a seamless integration of the repaired areas with the surrounding walls, thereby enhancing the overall appearance of the space.
Sanding is the first step in the finishing process. It is essential to use a fine-grit sandpaper and abord the surface evenly. The goal is to create a smooth transition between the repaired area and the existing wall. Careful sanding removes any excess joint compound and imperfections, preventing an uneven surface that could easily catch the light or draw attention. It is advisable to use a sanding block or an electric sander for more extensive repairs, ensuring that the contour matches that of the original wall.
Once sanding is completed, priming is the next critical step. A high-quality primer should be applied to seal the repaired area and prevent any uneven absorption during painting. This not only enhances the durability of the paint job but also helps in achieving a uniform finish. Choosing a primer that matches the type of paint to be used further ensures compatibility, and applying it with a brush or roller can help achieve an even coat.
The final step is painting, where the application of high-quality paint will breathe life back into the wall. It is advisable to use the same shade and finish as the surrounding areas. Two coats may be necessary for an optimal outcome, allowing sufficient drying time between applications. By exercising patience and precision during these finishing techniques, one can achieve a professional and seamless appearance, ultimately contributing to the overall integrity of the home’s interior design.
When to Call a Professional
Determining the appropriate time to enlist the help of a professional for drywall repair can significantly impact both the quality of the repair outcome and the safety of the home. While minor damages such as small dents or nail holes can often be remedied by a homeowner with adequate tools and materials, there are specific circumstances that warrant professional intervention.
One primary consideration is the extent of the damage. If there are large holes, water damage, or signs of mold and mildew, these issues often indicate underlying problems that require expert assessment and remediation. Water damage, for example, can severely compromise the integrity of drywall and may suggest plumbing leaks, necessitating a professional’s expertise to identify and resolve the root cause effectively.
Additionally, structural issues may arise, particularly in older homes. If there is sagging or buckling of the drywall, it is crucial to examine whether this is a symptom of structural failure. Professional contractors can evaluate the situation accurately and recommend appropriate repairs or reinforcements.
Moreover, the lack of time and experience should not be overlooked. Homeowners juggling multiple responsibilities may find that the learning curve associated with drywall repair detracts from their ability to perform the work efficiently. Professionals not only bring technical skills but also experience that can lead to superior outcomes in considerably less time. If a homeowner doubts their skills or feels overwhelmed by a repair project, consulting with a drywall specialist can provide peace of mind and ensure that repairs are undertaken correctly.
Ultimately, recognizing the signs of necessity for professional help can safeguard against poor repair work and potential risks, maintaining the home’s structure and aesthetic appeal.
Maintenance Tips to Prevent Future Drywall Damage
To ensure the longevity of your drywall after repairs, implementing a routine maintenance strategy is essential. Regular inspections form the foundation of this plan, allowing homeowners to identify early signs of damage or wear. Schedule quarterly checks to examine the condition of your walls, looking specifically for cracks, water stains, or any peeling paint. Addressing these issues promptly can prevent more extensive repairs down the line.
Humidity control within your home is another crucial aspect of maintaining drywall integrity. Excess moisture can lead to mold growth, causing significant damage to your walls. It is advisable to keep indoor humidity levels between 30% and 50%. Utilize dehumidifiers in particularly damp areas such as basements or bathrooms, and ensure that your home is properly ventilated. Regularly checking the seals around windows and doors can also help keep moisture at bay.
In addition to moisture control, protecting your drywall from physical impacts is vital. Child-proofing is a practical step for families with young children, as it helps mitigate potential damage from roughhousing. Install corner guards on walls in high-traffic areas to reduce the risk of dents and scratches. Additionally, consider using wall coverings or repainting with more resilient materials designed to withstand minor abrasions.
Furthermore, it is beneficial to educate family members about maintaining the integrity of your walls. Encourage responsible behaviors, such as using coasters or mats in areas where spills could occur. Over time, following these maintenance tips will promote better drywall care, ensuring your home’s walls remain in excellent condition for years to come. By fostering these habits, you can minimize the likelihood of future damage and maintain the aesthetic appeal of your drywall repairs.
Areas We Service:
We provide professional handyman and renovation services throughout Volusia County, including: